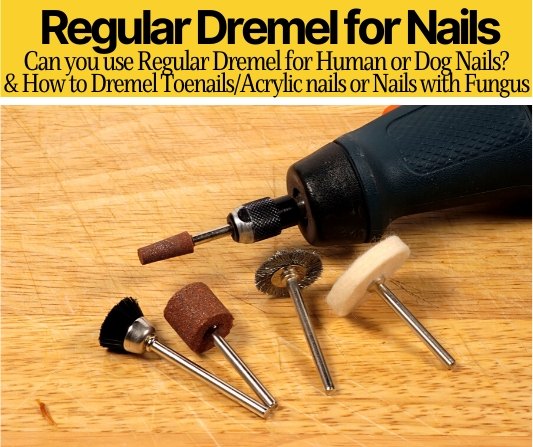
 Need to do more polishing or fine cutting work but you do not have a dremel lying around?
Don’t want to spend more money on tools?
Did you know that your drill can be turned into a dremel? In this article, I’ll show you how to convert your drill into a dremel and you will be surprised at what your drill/dremel is capable of accomplishing.
Can you use a drill as a dremel?
You technically can use drill as a Dremel as the dremel rotary bits will fit in the chuck of a drill, however for most tasks it won’t give good results.
The reason why using drills has its limits is due to the fact that it cannot operate as fast compared to a normal dremel. Drill rpms usually sit around 3,000-10,000 rpm at its max while dremel can operate at 30,000 rpms. That is triple the speed and there is a good reason why it has to spin very fast. If the blade spins too slowly, it will latch onto the material and possibly shatter the dremel bit.
This is similar to buying those toy fans that come with candy on a stick. If you put your finger while the fan is spinning, the fan stops and cannot continue because it is not strong enough to push your finger away.
However, in this article we will show you the things you can do that are good enough with just a dremel bit on your drill.
How to do it
Attaching a dremel bit into a drill is fairly straightforward by loading the chuck with the right size dremel bit and you are good to go. For my extreme DIY people out there, you can build your own dremel bit with a few nuts and washers and a rotary blade.
First, insert a nut and tighten all the way into the bolt with a wrench, this is to have a bigger surface area to support. Second, place a metal washer then a plastic washer into the bolt. The metal keeps the blade from moving and the plastic absorbs vibrations. Third, insert the blade in and then add another plastic washer and nut. Ensure that the blade is fitted and it will not move once you add the washer and nut. Tighten the second nut and your DIY dremel bit is complete!
What you should be aware of
When operating the drill there are a few things that you should keep in mind. The first priority is safety, always wear gloves and safety glasses in case you work with metals as sparks will fly out. Second, you must not use the bit to its full strength or until it is completely worn out. Remember that you are working with an imitation dremel, not a real one so pushing it to the brink will cause serious damage either to the dremel bit or the drill itself. The time it takes to dremel stuff will be way longer since you are required to work at a slower speed. Note that this dremel bit will not be able to cut through tough materials like metal alloys. Third, drills are originally made to be drilling holes or using it in a forward backward motion instead of a lateral position. You will need more precision when you hold the drill laterally if you plan on using that to cut stuff, be sure to grip it tightly.
Also Read : How to Use a Drill as a Grinder
Ways to use a drill as a dremel
There are many ways you can use a dremel as this tool is primarily used for carving, sanding, and etching designs. Since you are using a drill as an alternative, you cannot perform this on tough materials like metal as the drill is not strong enough to power through. When choosing to cut, always cut vertically not horizontally as this reduces the load on the drill bit as you are letting gravity do its work. When it comes to carving, make sure to angle away from you to prevent shards from flying towards you
To polish
Polishing does not require a lot of pressure on the drill so this is definitely possible. If you plan on turning your drill into a polisher, I would recommended buying a rotary adapter from this website.
In addition to that adapter, you will also need to acquire a rotary backing plate and polishing pads in order to begin the polishing process. I’d say the chances of getting a clean finish is feasible, but obviously it won’t be able to polishing as fast as a normal dremel.
To cut wood
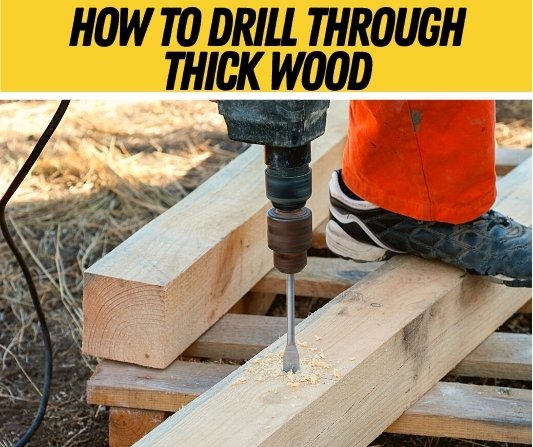
Your mock dremel is capable of cutting wood, but the cuts will not be very clean as if you used a dremel or a regular saw. You are able to cut small chunks of wood but if you want even cuts then you must trim each piece of wood afterwards. Depending on the thickness of the wood, you should be able to cut vertically in one go. However, this is not always the case as you might find that the wood is very thick where it begins to touch the road of the drill bit. In that case, you will need to make perforations and continue until the foundation is weak enough to cut the remainder in one shot.
To trim your dog’s nails
This is possible but I would advise you to use something else like scissors or wire cutters. Depending on how well trained your dog is, they might not enjoy the process and will probably run away if it scares them. When trimming nails, be sure to let it grind for a few seconds and then switch nails. Leaving it against the dremel might overheat the nail and cause uncomfort for your dog. If you begin to slowly train the dog, start with one toe nail a day.
Read More: Using a Dremel for Nails
To trim your toenails?
You Should not use your mock remel to trim your own nails. It is especially dangerous since you are not using a real dremel so the chances of you injuring your foot are very high and there are a lot of nerves attached to your foot. However, this is possible if you had a dremel with a flex shaft and that bit is very miniature and you will be able to control the trimming better rather than using a cordless drill. Scissors and nail clippers are better for this job and you have less chances of cutting your toes off.

