 Finding studs covered up by siding can be rather tricky since often there are no obvious signs to look out for.
In this article, we will look at different ways to find studs behind Siding, whatever it is Vinyl, Metal, or Wood Siding.
Also, we will go over Special tools you may need to use to find the studs.
Let’s start with 5 easy ways to find studs behind most Sidings.
5 Easy Ways To Find Studs Behind Siding
- Use Standard Construction Codes To Determine Location
Standard Construction codes tell us that studs are placed 16 inches on center from one end of wall to the other in some cases this will be 24 inches or 12 inches but 16 is the most common.
- Look For Painted Over Existing Nail Heads In Wood Siding
On wood siding look for nails covered up by old paint in symmetrical patterns, this is a clear indication that a stud lies beneath.
- Use Ceiling Or Floor Joist Location To determine Stud Location
Use crawl space or attic to determine floor joist or rafter Location It is Common for studs to line up with either of these.
- Remove A Piece Of Existing Siding To Reveal Stud Placement
Removing or prying up a piece of existing siding will reveal an obvious nail pattern or stud pattern, vinyl siding requires a removal tool like this to prevent damage.
- Find Studs From Interior Side Of Wall And Transfer Those Measurements
Use a stud finder on the inside of the wall, mark and measure stud placement, and transfer those measurements to the outside wall minus the exterior sheeting width.
How To Find Studs Behind Metal Siding
The problem with older metal siding is that it is magnetic making a stud finder useless, so using some other method is necessary.
Prying up a piece of the metal siding should allow you to see where the siding was nailed in place indicating a stud location.
If prying up the siding isn’t possible, Is there a crawl space available?
Wall studs are typically directly over the floor joists, this may take some tricky measurements and transferring those measurements to the exterior wall but this is a good way without boring unnecessary holes in the siding.
If a crawlspace isn’t available how about attic space the same technique can be used with ceiling joist as with floor joist.
And finally, the interior side of the wall can be used as well to locate and transfer measurements to the exterior wall.
Finding Studs Behind Aluminum Siding
This process can be done in much the same ways as mentioned above but you may also be able to use a high quality deep sensing stud finder. Here is a link to a top rated stud finder ,this particular one also can show live wires in walls.
A good stud finder may be able to locate a stud through aluminum siding, I don’t believe I’d rush out and buy a stud finder if this is a one off project, however if you see that you may have a future need a stud finder is a nice tool to have in your tool box, and they are relatively inexpensive even for a very good one such as this.
What Kind Of Stud Finder Works Best For Aluminum/Metal Siding?
A deep sensing magnetic stud finder is your best choice for trying to locate a stud through aluminum siding, however, it is of no use for older metal sidings that have magnetic properties, an alternative method to finding a stud will need to be used.
How To Find Studs Behind Vinyl Siding
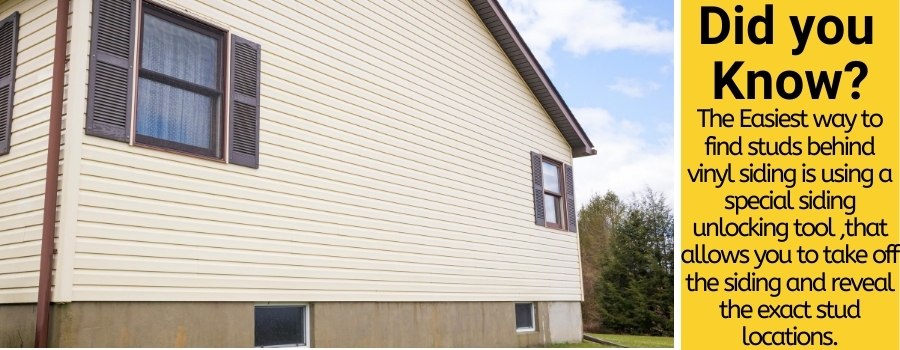
Vinyl siding is fairly easy to find studs behind primarily because they make a tool for unlocking vinyl siding pieces from each other its called a zip tool or side swipe vinyl removal tool. They are inexpensive and fit into the interlocking seam on the vinyl , apply a little downward pressure and then zip along the seam separating the two pieces.
Here is the Siding Unlocking tool
This reveals the nail tab on the top edge of the panel below, which should give you a good indication of where the studs are.
Select a piece a couple of feet from the wall corner and a couple feet from the bottom of the wall, this is a point in the job where a consistent nail pattern should have been established, combined with a tape measure, measuring 16 inches on center should find your studs with a high degree of accuracy.
A good stud finder can also work fairly well through vinyl but since it is essentially just picking up the signal from the nails used to apply the siding I really feel using the zip tool is the best option. Here is a link for a siding removal tool
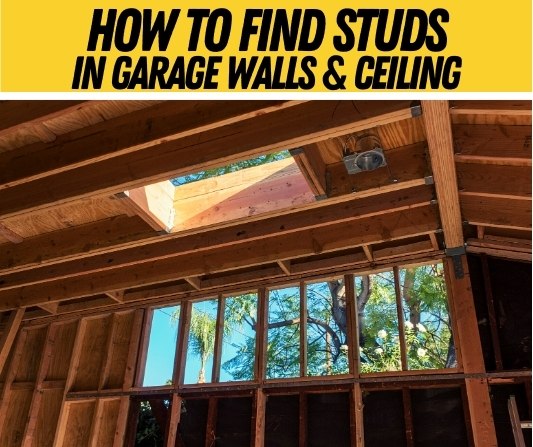
Read also: How To Finds Studs in Garage Walls
How To Find Studs Behind Wood Siding
The best part about wood siding at least when it comes to finding studs is that the wood siding is generally nailed in place.
And even if its been painted over a half a dozen times nail heads tend to leave a small impression that are fairly easy to see and once you see them you almost can’t unsee them, so scan for nail heads on your wood siding and you should begin to see a noticeable pattern that will represent your studs.
If you have bad eyesight a stud finder will easily pick out these nails for you.
Can I Drill Into My Vinyl Siding?
Yes, drilling in vinyl siding is pretty easy,the main thing is knowing what is under the vinyl so you can select the proper drill bit for your hole.If the vinyl was put over brick you will need a masonry bit, if it’s over plywood or OSB then wood screws will be your choice.
Drill your holes straight in and avoid the edges of a piece of vinyl as well as the thicker ribbed center of the vinyl panel.
Warning old vinyl can become very brittle and crack easily drill with the smallest drill bit necessary, use light pressure until you have penetrated the vinyl.
Use good screws, stainless steel or vinyl coated screws are rust-resistant and will not leave streaks of rust running down your vinyl every time it rains.
Can You Nail Into Siding?
The short answer is yes, however it depends on the type of siding and what is the siding covering, if its covering brick or concrete a nail is probably not your best choice, also what type of siding is it?
Wood siding is meant to receive nails and vinyl siding nails easily as well however metal or aluminum siding while a nail may penetrate it there is the risk of severely damaging and denting your metal siding while trying to nail into it.
I would recommend drilling a pilot hole on metal or aluminum siding before trying to nail it. And I would also recommend using screws instead of nails if this is practical for your application.
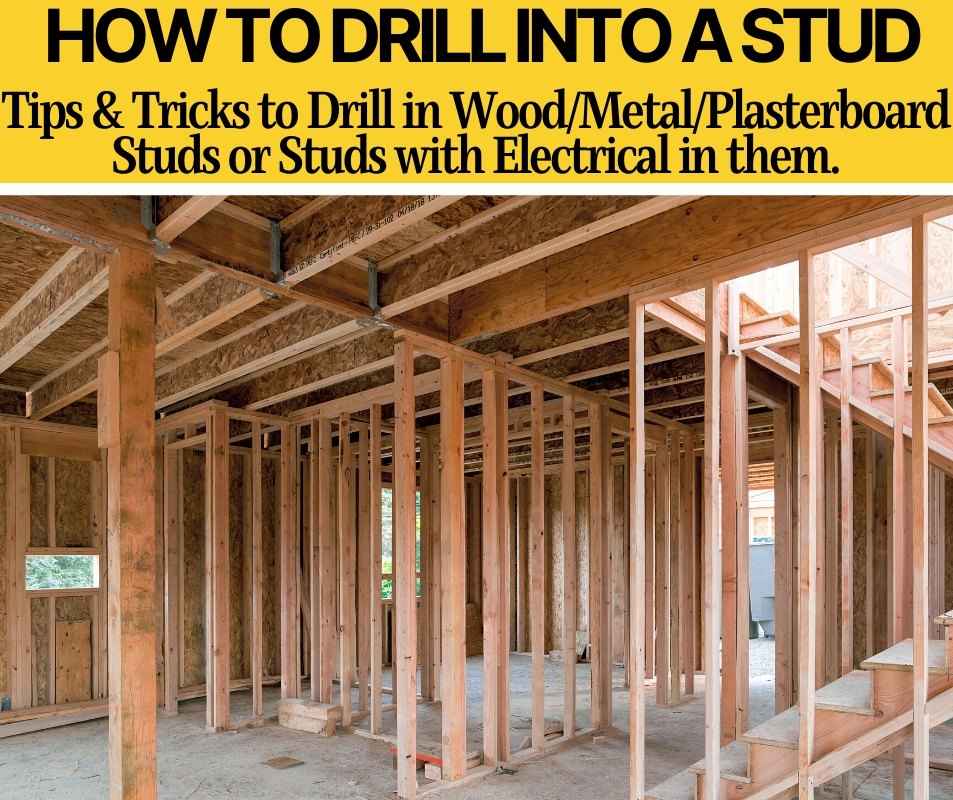
Also read: How to Drill Into A Stud
Related Questions.
How To Attach A Mailbox To Vinyl Siding
First before attaching a mailbox to your vinyl siding, Make sure that home mounted mail boxes are allowed and will be delivered to in the neighborhood you live in.
Next, select a wall mounted mailbox these will come with mounting brackets that the mailbox screws down to, you can use S hooks that will attach to your vinyl with no drilling required, this allows for the perfect placement of your new mailbox.
The mailbox can be screwed into place if you desire, assuming its possible to locate the box where it can be drilled into a stud. A mailbox is small enough and light enough that it could easily be mounted on center to a single stud.
Installing A Security Camera To Vinyl Siding
The most important part of installing a security camera is selecting the right location to cover the area you are wanting to secure, choose a clear unobstructed location, preferably with at least some level of protection from high winds, rain or swaying tree limbs.
Once you choose your location it is a pretty simple procedure, you will most likely be working from a ladder though so it is important to be safe making sure your ladder is setup in a firm and steady manner, a cordless drill is the best choice and a tool belt to hold everything you need safely and avoid making trips up and down the ladder.
Knowing the material your drilling into is important so you can select the right drill bits and screws for the job, if the camera is wired decide where that wire needs to go, are you drilling all the way through to the interior wall what is on the interior wall where your hole will be?
Planning ahead is easier than fixing mistakes, use your mounting bracket to mark your hole locations and bore pilot holes for your bracket, switch to your screwdriver bit and install your bracket.
Your camera will most likely mount to the bracket with some type of thumbscrew or wing nut making it easy to adjust its field of vision if necessary.
Drill the hole for your wire slightly bigger than the wire, depending on how the system sets up and the length of the wire, it may be best to feed the wire from inside out to the camera, instead of hauling large lengths of wire up a ladder and feeding them through from the outside.
Once you’re finished installing and adjusting the camera you may want to put a dab of silicone caulk around the wire to keep moisture out.

